You are currently viewing DIY Craft Time Zone Vintage Map Clocks

DIY Craft Time Zone Vintage Map Clocks

time zone map clocks

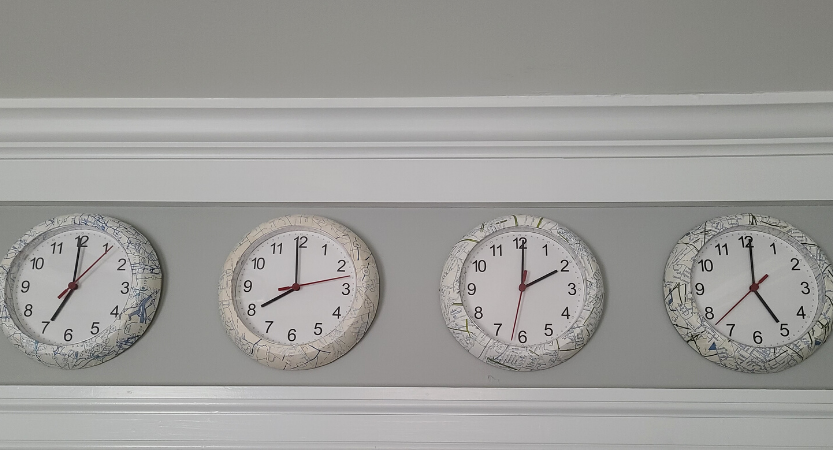
This is a really cool way to dress up your clock into a travel clock. For this project, I wanted to get four clocks and have them set to different time zones around the world. You can do this with multiple clocks to have time zones or do just one large clock for a statement piece. 

items you need

  • Plain clocks x 4
  • Mod Podge
  • Map, old atlas or roadmap
  • Scissors
  • Pencil
  • Ruler

step by step instructions

Remove the clock crystal

First thing I did was to remove the plastic face over the clock to expose the inner part of the clock. This was probably the most annoying part but I wanted to be able to put my map design on the inner ring of the clock so I needed to remove it for that purpose. If that is a big hassle, you can skip this step and just decorate the outside. 

Cut the map

Next, I picked some old road maps that I thought would be nice to use. I was going to display these clocks in a room that has a blue color theme so I picked appropriate maps. For the inner ring of the clock, I measured the thickness of the band and cut out appropriately sized strips to fit in. I set these aside to use at the end. It is important to do this or else you may run out of map or may be doing small pieces on at a time. I just found this to be neater looking and more time friendly. I initially thought I may be able to cut out similar shapes and glue them overlapping but found with the contours of the clock it was easier to cut and paste as I went along. 

paste the map to the clock

Next I would cut small pieces of map and individually glued  them to the outer part of the clock using Mod Podge. Because you are gluing to not flat surface you may have to cut smaller pieces and mold them together. Initially, I was hopeful I could just cut a few different shapes and use them over and over but in the end found it easier to just cut and paste as I went around. After the entire outer part of the clock was covered, I used my strips I cut before to paste into the inner rim of the clock. 

replace the crystal

Finally, I put the plastic face covering back in place. Please wait for the maps to be completely dry before doing this. Also be aware that the area is going to be much tighter now that there is a layer of paper inside. Be patient. On one of the clocks, I rushed it and it tore – to make it less obvious I glued a piece of map on the outer part so it sort of shines through and there isn’t as obvious a gap in the map. 

Hang the clocks

Once your pieces are dry, you can hang them on the wall. Pick your favorite places you’ve been or some iconic cities. Then set each clock’s time to the appropriate time zone. To highlight which places your clocks correspond to, you can get a plaque of the name of the place above or below the clock or you stencil/write the city on the center of the clock before replacing the plastic covering. You can also link the clocks to specific special life events (i.e. time zone of first trip together, wedding day, where you first met, etc.)  Either way, this unique travel display will highlight both awesome vintage maps as well as various special time zones from around the world.